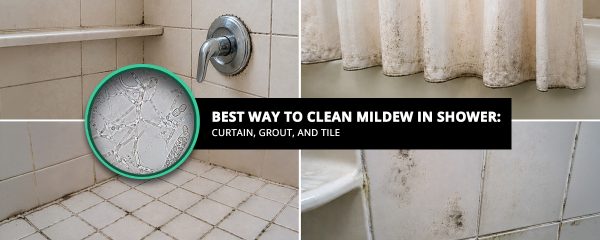
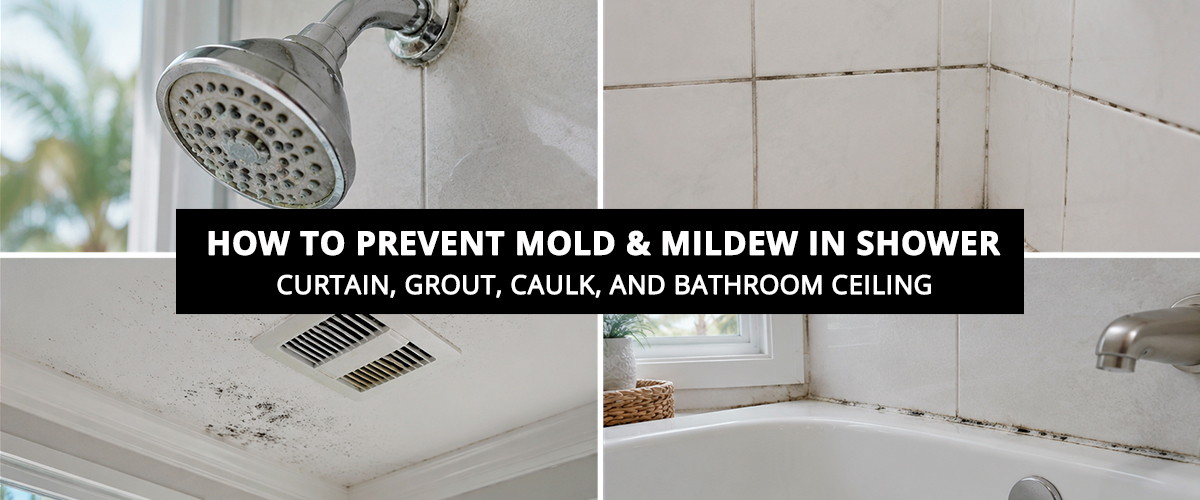
To prevent mold and mildew in a shower, control moisture, remove organic residue, and maintain adequate ventilation consistently. Squeegee walls after every shower, run the exhaust fan during and for at least 20 minutes after showering, rinse away soap scum regularly, and seal cement grout per the manufacturer’s recommendations. These habits remove the conditions mold and mildew need to establish.
Most homeowners think about mold after they see it. The goal of this guide is to help you think about it before it shows up, and to give you a clear, practical routine that actually works. In this article, we’ll walk through the daily habits, surface-specific tips, and long-term maintenance steps that help keep mold from coming back.
Key Takeaways
Before we get into the details, here is what you need to know upfront.
- Squeegeeing or drying the shower walls and glass door (with a towel or microfiber cloth) immediately after every use is one of the most impactful daily habits for reducing surface moisture on tile and glass. It removes surface water before it can absorb into grout and caulk.
- Running the exhaust fan during the shower is not enough. Keep it running for at least 20 minutes after you finish, or longer if mirrors, walls, or ceilings still feel damp.
- Humidity control is key to mold prevention. The CDC recommends keeping indoor humidity at or below 50%, while the EPA recommends below 60%, ideally 30% to 50%. A dehumidifier plus a working exhaust fan can help maintain that range.
- Vinegar has antimicrobial properties against many fungal species, but its acidity can gradually weaken cement-based grout with frequent use. Use it occasionally and rinse thoroughly rather than applying it as a daily spray directly on grout.
- Grout sealing is not optional. Unsealed grout absorbs moisture with every shower and gives mold a pathway below the surface where daily cleaning habits cannot reach.
- Mold-resistant caulk slows colonization but does not make caulk immune. Proper ventilation and drying are still required.
- If mold keeps returning in the same grout lines despite correct prevention habits, the grout may already be compromised. At that point, professional tile and grout cleaning reaches what surface habits cannot.
How to Prevent Mold and Mildew in Shower Overview
| Prevention Strategy | Frequency | What It Prevents |
|---|---|---|
| Squeegee or dry shower walls/glass | After every shower | Surface moisture absorption into grout and caulk |
| Run exhaust fan | During and at least 20 minutes after every shower | Humidity buildup and condensation on surfaces |
| Rinse soap scum off surfaces | After every shower | Organic food source for mold and mildew |
| Use dehumidifier | After showering, in humid climates or windowless bathrooms | Ambient humidity that promotes mold growth; Per CDC, maintain level below 50% |
| Clean grout and tile with degreaser | Weekly; avoid frequent use of harsh chemicals (bleach) or acidic cleaners (vinegar) that damage the sealer | Residue buildup that feeds mold below the surface |
| Wash fabric shower curtain | Wash monthly minimum | Mold and mildew growth in fabric fibers |
| Replace or clean plastic liner | Clean monthly minimum; replace with antimicrobial & antibacterial liner | Soap scum and surface biofilm buildup |
| Wash bath mat | Weekly minimum | Moisture retention and residue buildup in fabric fibers |
| Seal cement grout | Per manufacturer recommendations | Moisture penetration into porous grout matrix |
| Check and maintain caulk | Every 6 to 12 months | Moisture infiltration behind the tile seal |
| Check exhaust fan | Annually as a starting point; upgrade if needed | Inadequate ventilation promotes mold and mildew growth |
| Upgrade to mold-resistant |
Mold-Resistant Paint, Mold-Resistant Caulk, Antimicrobial Epoxy Grout |
Prevents moisture penetration & retention |
How To Prevent Mold In Shower
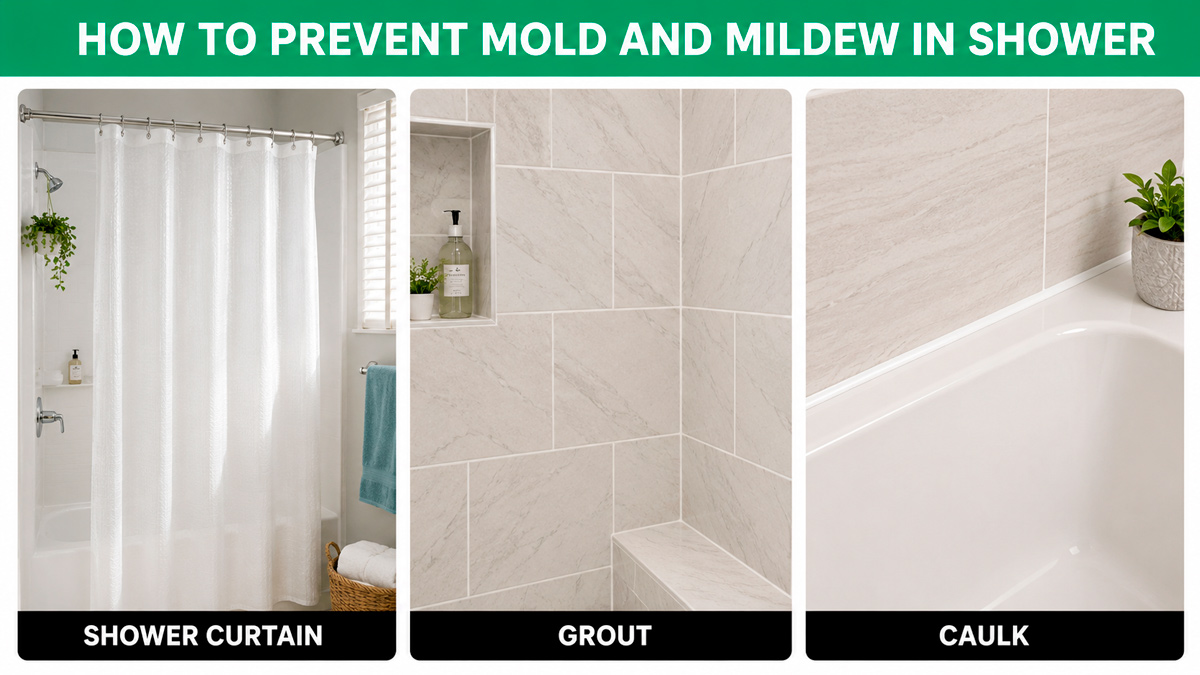
To prevent mold in the shower, remove the three conditions it needs to grow: moisture, organic residue, and stagnant humid air. Squeegee walls after every use, rinse away soap scum before stepping out, run the exhaust fan for at least 20 minutes after showering, and seal cement grout per the manufacturer’s recommendations. Consistency across all three conditions is what actually stops mold from establishing.
Preventing mold in the shower is not about one single habit. It is about removing the conditions that allow mold to consistently establish across multiple surfaces every day.
What to Put in Your Shower to Prevent Mold
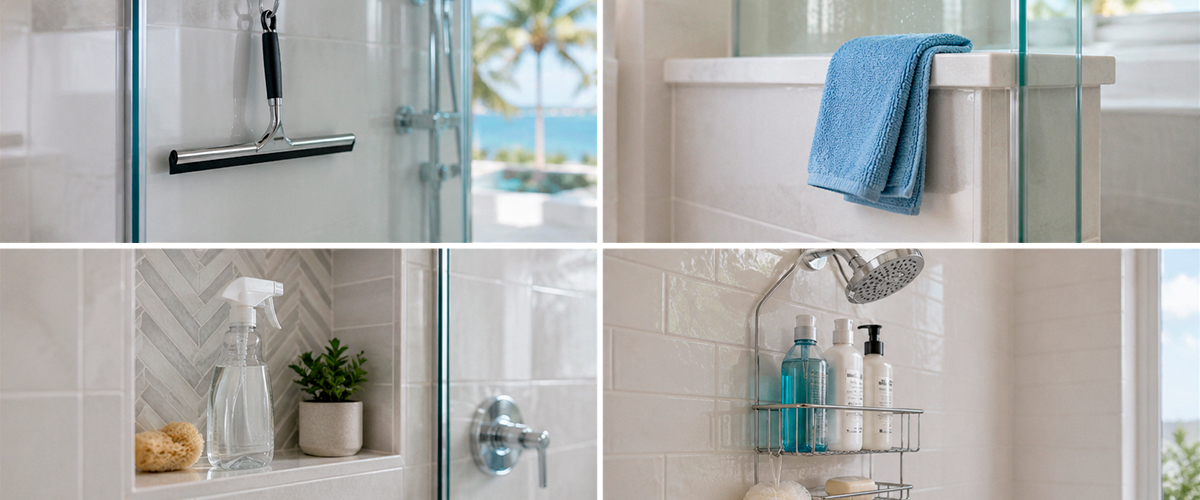
The most effective tools for preventing mold in the shower are a squeegee, a daily shower spray, and a shower caddy that keeps surfaces clear of moisture-trapping clutter.
Squeegee
One of the most impactful daily tools for reducing surface moisture on tile and glass. Keep one inside the shower and use it on walls and doors immediately after every use. It takes 30 seconds and removes the standing water that would otherwise sit on tile surfaces and work its way toward grout lines. How much it reduces grout absorption depends on your grout type and whether it is sealed, but removing surface water consistently is always better than leaving it to evaporate slowly.
Microfiber cloth
Useful for wiping down faucets, the shower head base, shower glass door, and caulk seams after squeegeeing. These are the spots the squeegee misses, where moisture tends to linger the longest.
Daily shower spray
A light mist applied to shower surfaces after drying helps reduce soap scum and surface residue between deep cleanings.
Important: Before applying, always check that the product is compatible with your shower material.
Commercial spray: Use a daily shower spray designed for bathroom surfaces to reduce soap scum, body oils, and residue between deep cleanings. Look for a product labeled safe for tile, glass, grout, and fixtures. EPA Safer Choice-labeled options are a good lower-toxicity choice.
Plant-based option: Choose a plant-based daily shower cleaner made with ingredients like citric acid, lactic acid, or plant-derived surfactants. These help break down residue and slow buildup without the harsh fumes of bleach-based cleaners. Avoid acidic sprays on natural stone.
DIY option: Mix water with a small amount of mild dish soap or castile soap in a spray bottle. Lightly mist shower walls and glass after squeegeeing, then let surfaces air dry with the fan running. Avoid using daily vinegar sprays on cement grout because repeated acid exposure can gradually wear it down.
Wall-mounted or hanging shower caddy or corner shelf
Shampoo bottles, loofahs, and soap dishes can trap moisture when they sit directly on the shower floor or ledge. That damp space underneath them becomes the perfect little hiding spot for mold to start growing.
A wall-mounted or hanging shower caddy keeps those surfaces clear, helps water drain away, and gives the shower a better chance to dry between uses.
How To Prevent Mold In The Shower
The most effective way to prevent mold in the shower is to remove surface moisture immediately after every use, clear soap and shampoo residue consistently, and run ventilation to reduce post-shower humidity. These habits address the primary conditions mold needs to establish. Hidden leaks, failed caulk, or already-compromised grout may require additional attention beyond daily habits alone.
Here is the full daily and weekly prevention routine:
Daily
- Rinse soap scum and shampoo residue off tile, grout, and the shower floor before stepping out.
- Squeegee or dry with a towel/microfiber cloth shower walls, door, and glass surfaces immediately after every shower.
- Run the exhaust fan during the shower and keep it running for at least 20 minutes after, or until mirrors and walls feel dry.
- Run a dehumidifier during and after the shower; keep ambient humidity below 50%
- Spread the shower curtain fully open or leave the shower door open to maximize airflow
- Hang wet towels and bath mats outside the bathroom or in a well-ventilated area to dry. A wet towel left hanging in a bathroom that is already humid after a shower adds extra moisture to the air, making mold growth more likely. It is a small habit that reduces the total moisture load your exhaust fan has to clear.
Weekly
- Scrub tile and grout with a stiff brush and a degreaser or a cleaner of your choice.
- Wipe down caulk seams and the shower head base where residue accumulates.
- Check the shower curtain liner for early signs of mildew along the bottom edge and folds.
- Wash the bath mat.
Monthly
- Clean shower curtain per the care label.
- Check caulk condition along the tub and shower edges.
- Clean the exhaust fan cover to remove dust buildup that reduces airflow.
- Check fan suction with the toilet paper test: hold one sheet to the running vent. If it stays firmly in place on its own, the fan is pulling air effectively.
How To Prevent Mold in Bathroom Ceiling
To prevent mold on a bathroom ceiling, run the exhaust fan during every shower and keep it running until the ceiling feels dry, ensure the fan vents directly outside rather than into the attic, wipe visible condensation off the ceiling after steamy showers with a dry microfiber cloth, and consider mold-resistant paint to reduce how readily mold can establish on the surface.
The bathroom ceiling is the first place humid air reaches and the last place most homeowners think to address in their prevention routine. Here is what actually makes a difference:
Adequate ventilation
If the exhaust fan is not clearing post-shower humidity effectively, no other ceiling prevention strategy fully compensates. Refer to the exhaust fan sizing and testing guidance above before adding any other ceiling-specific measures. If the fan is not enough, consider pairing it with a dehumidifier.
Paint type matters
Standard flat ceiling paint is more porous, which makes it easier for moisture to sit on the surface and gives mold a better place to start growing.
Satin or semi-gloss finishes are better for bathrooms because they repel moisture more effectively than flat or matte paint. A mold-resistant primer underneath the paint can add another layer of protection too.
If your bathroom ceiling has flat paint and you keep seeing mold spots come back, it may be worth repainting with a satin or semi-gloss mold-resistant bathroom paint. Just make sure you deal with the ventilation problem first, or the new paint will be fighting the same moisture issue all over again.
How To Prevent Mold Shower Curtain
To prevent mold on a shower curtain, allow it to dry daily by spreading it fully open after every shower, or by drying it manually with a towel or microfiber cloth. Run the exhaust fan and a dehumidifier to reduce ambient humidity, and wash or replace it regularly before visible growth appears.
Shower curtains and plastic liners are among the most overlooked mold surfaces in the bathroom because they are replaced rather than maintained, and by the time most homeowners address them, the growth is already visible.
Fabric curtains
For fabric shower curtains, follow the manufacturer’s instructions. Most fabric shower curtains are usually washed once a month using the warmest water the care label allows. Use regular laundry detergent, and add a laundry disinfectant if the curtain has had mildew or mold issues.
After washing, hang the curtain back up fully extended so it can dry evenly. Don’t bunch it against the wall while it’s still damp, or you’ll trap moisture and give mildew a place to start again.
Plastic or vinyl liners
- Keep the liner tucked inside the tub so water drips directly down the drain rather than running down the outside onto the floor
- Consider drying the liner daily with a towel or a microfiber cloth after you shower.
- Clean it weekly; wipe down with a damp cloth to remove soap scum and surface biofilm before it accumulates
- Consider replacing it with an antimicrobial & antibacterial liner: If the liner feels slimy or shows staining that cleaning does not resolve, replace it.
- Swap out the liner every few months as part of baseline maintenance.
If the growth on your shower curtain is pink or orange-pink rather than gray or white, that is not mildew. Our complete guide to Pink Mold in the Shower covers what it is and how to address it specifically.
How To Prevent Mold In Shower Grout
To prevent mold in shower grout, seal cement grout per the manufacturer’s recommendations, squeegee walls after every shower to reduce moisture absorption, rinse away soap scum consistently, and clean grout weekly with a stiff brush. Sealed grout absorbs significantly less moisture than unsealed grout and gives mold fewer pathways below the surface.
Grout is one of the easiest places for mold to grow in a shower. It’s porous, it stays damp after every use, and it collects the soap residue, body oils, and buildup that mold feeds on.
Preventing mold in grout takes two things: daily habits that keep moisture and residue from sitting on the surface, and long-term maintenance that helps the grout absorb less water in the first place.
Surface habits
- Squeegee or dry tile walls with a towel after every shower to reduce the amount of water that contacts grout lines
- Rinse soap and shampoo residue off grout surfaces before stepping out
- Clean grout weekly with a stiff brush to prevent residue from building up in the grout texture
- Avoid using vinegar too often directly on unsealed cement grout. Because vinegar is acidic, repeated use can slowly weaken the grout over time. How much damage it causes depends on the type of grout, whether it’s sealed, how strong the vinegar is, and how long it sits on the surface.
Structural maintenance
- Seal cement grout per the manufacturer’s recommendations. Sealed grout is significantly less porous and absorbs less moisture with every shower. Frequency depends on the sealer product, shower use, and the cleaning products used regularly
- Consider epoxy grout if remodeling. Epoxy grout is resin-based, non-porous, and does not require sealing. It is significantly more resistant to mold than cement grout
- Check grout condition regularly for cracks or missing sections. Damaged grout allows moisture to reach the substrate behind the tile where it cannot be addressed by surface habits
How To Prevent Mold In Shower Caulk
To prevent mold in shower caulk, keep caulk lines dry after every shower, inspect caulk condition every six to twelve months, and replace caulk that is soft, cracking, or pulling away from the surface before more moisture gets behind the seal.
Caulk is the seal between your tile and the tub, shower pan, or wall. When it is in good condition, it keeps moisture where it belongs. When it fails, moisture reaches the substrate behind the tile where no cleaning or prevention habit can address it.
Daily prevention
- After you squeegee the tile walls, run a dry microfiber cloth along the caulk lines too. The squeegee gets most of the water, but those seams usually still hold onto moisture. Caulk stays wet longer than smooth tile, which is why mold often shows up there first.
- Leave the shower door or curtain fully open after showering to maximize airflow across caulk lines.
Product selection
- Use 100% silicone mold-resistant caulk in shower applications. Silicone is more water-resistant than latex or acrylic caulk and lasts significantly longer in wet environments
- Mold-resistant caulk can help, but it’s not magic. It contains mildewcides that slow mold and mildew growth, but it can still get moldy if the area stays wet. Good ventilation, regular drying, and basic shower maintenance still do most of the work when it comes to keeping mold from settling in.
Maintenance
- Give your caulk a quick check every six to twelve months. Run your finger gently along the line and look for spots that feel soft, loose, cracked, or stained. If the caulk is pulling away, feels mushy, or still looks dirty after cleaning, it’s probably worn out and needs to be replaced.
- Replace failing caulk promptly. Moisture working its way behind a failed caulk seal creates conditions that surface prevention habits cannot reach
Mold Keeps Coming Back In Shower
Mold keeps coming back in the shower because cleaning removes what is visible on the surface without reaching the mold that has already established itself inside porous grout or behind failing caulk. Surface habits prevent new colonies from forming on clean surfaces. They cannot reverse growth that has already penetrated the substrate.
There are three reasons mold keeps coming back despite regular cleaning and good habits:
The moisture source is still present
If your bathroom fan is too small, clogged with dust, or not running long enough after a shower, all that humid air sticks around. And when the air stays damp, mold spores have more time to settle in and start growing.
That’s why cleaning the visible mold without fixing the humidity problem usually leads to the same result: the mold comes back.
The grout is already compromised
Unsealed or aging grout absorbs moisture below the surface. Mold that has established inside the grout matrix is not reachable by surface sprays or daily cleaning habits. What you clean off the surface grows back from the colony already living below it.
The food source is not being fully removed
Soap scum, shampoo residue, and body oils accumulate in grout lines and caulk seams between cleanings and provide a sustained nutrient source. A quick rinse is not always enough to remove residue that has built up over time.
If any of these three conditions are present, prevention habits will slow mold growth but not stop it entirely.
Your exhaust fan is not working effectively. Check it
Ventilation is key to preventing mold growth. To check if your exhaust fan is working effectively, hold a single sheet of toilet paper up to the vent while the fan is running. If the paper stays pulled firmly against the vent on its own, the fan is generating adequate suction. If it flutters, falls, or barely moves, the fan is not moving enough air to clear bathroom humidity effectively.
This is one of the simplest field checks you can do and one of the most revealing. In many bathrooms, the fan runs but is so clogged with dust or so undersized for the space that it is barely making a difference.
Pro tip: If you want to know for certain when your bathroom has actually cleared out, pick up a hygrometer. It is a small and inexpensive humidity monitor that tells you when indoor humidity has dropped back into the safe range. Once you have one, you will have a much clearer picture of whether your current ventilation setup is actually doing its job.
Five Upgrades to Stop Mold from Coming Back in Shower
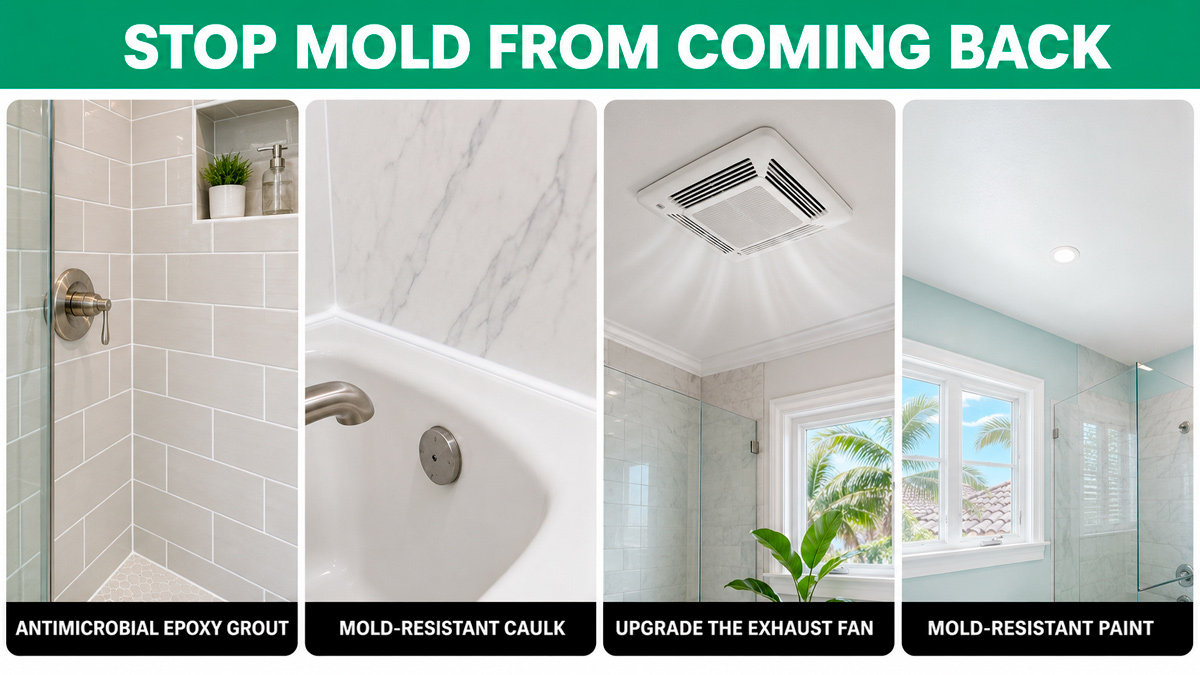
To stop mold from coming back long term, address the substrate, not just the surface. Seal cement grout per the manufacturer’s recommendations, ensure the exhaust fan is correctly sized and vents directly outside, upgrade bathroom ceiling paint to a semi-gloss or mold-resistant formula, and replace failing caulk before moisture works its way behind the seal. Daily habits slow mold down. Structural maintenance is what stops it from reestablishing.
1. Upgrade Cement Grout For Antimicrobial Epoxy Grout
Replace cement-based grout for epoxy grout, which is completely non-porous, meaning water and mold spores cannot penetrate it. It’s more expensive than regular cement grout, but it can be worth it in a shower because it doesn’t need sealing and naturally does a better job resisting moisture and mold.
2. Upgrade To Mold-Resistant Caulk
Replace standard silicone caulk with mold-resistant (100% silicone caulk) with built-in active biocides rather than standard latex.
3. Upgrade The Exhaust Fan
If your exhaust fan fails the toilet paper test, vents into the attic instead of outside, or is too old to move air well, it may be time for an upgrade. A stronger, properly vented fan is one of the best long-term improvements for bathroom mold prevention.
When choosing a replacement, check the CFM (Cubic Feet per Minute) rating. CFM measures the volume of air a device moves in 60 seconds. A higher CFM rating means the exhaust fan can move more air, resulting in stronger ventilation and better overall circulation.
Per Home Ventilating Institute guidance, bathrooms up to 100 square feet need at least 1 CFM per square foot of floor space. For larger bathrooms or bathrooms with multiple fixtures, sizing should be based on fixture count. When possible, choose a fan above the minimum for better humidity removal.
Also consider a humidity-sensing fan. These turn on automatically when humidity rises and shut off when levels return to normal, making them a good option for households that forget to run the fan consistently.
4. Upgrade to Mold-Resistant Paint
Standard flat paint can hold moisture more easily, giving mold a better surface to grow on. For bathroom walls and ceilings, use a mold-resistant bathroom paint in a satin or semi-gloss finish, which repels moisture better and is easier to wipe clean.
Before painting, apply a mold-inhibiting primer rated for high-humidity spaces, such as Zinsser Mold Killing Primer or KILZ Mold & Mildew Primer. For bathrooms with recurring ceiling mold, specialty bath paints with antimicrobial additives are worth the upgrade because they help slow mold growth on the painted surface.
One important clarification: mold-resistant paint reduces how readily mold establishes on the painted surface. It does not eliminate the need for ventilation. If the humidity problem is not addressed, mold-resistant paint will slow the growth but not stop it permanently.
5. Upgrade Moisture Control With a Dehumidifier
A dehumidifier is a smart add-on when the exhaust fan isn’t enough to bring bathroom humidity down after a shower.
The EPA recommends keeping indoor humidity between 30% and 50%, and the CDC advises keeping it no higher than 50%. But in bathrooms with weak fans, no windows, or already-humid climates, ventilation alone may not get you there.
That’s where a dehumidifier helps. It pulls moisture directly from the air, no matter how humid it is outside or how well the fan is performing.
When a dehumidifier makes the most sense
- Your bathroom has no window and limited airflow from adjacent rooms
- You live in a high-humidity climate where outdoor air introduces more moisture than the fan can clear
- Mirrors and walls are still damp more than 20 to 30 minutes after the fan has been running
- Mold keeps returning despite consistent prevention habits and a functioning exhaust fan
- You are unable to upgrade the exhaust fan due to rental restrictions or ductwork limitations
What to look for in a dehumidifier
Choose a dehumidifier sized appropriately for the bathroom. A small portable unit is sufficient for most standard bathrooms. Look for one with a built-in humidistat, so it automatically cycles on and off to maintain your target humidity level rather than running continuously. Set it to maintain humidity between 30% and 50% per EPA guidance.
Use a hygrometer alongside the dehumidifier to verify it is actually reaching the target range. A hygrometer is a small, inexpensive humidity monitor available at most hardware stores for around ten to twenty dollars. It takes the guesswork out of whether your bathroom is staying within the safe range after showering.
One important clarification: A dehumidifier prevents new mold growth by reducing the humidity conditions mold needs to establish. It does not kill existing mold or remove mold from surfaces. If mold is already present, it needs to be cleaned first. The dehumidifier then helps prevent it from reestablishing.
Stop Mildew
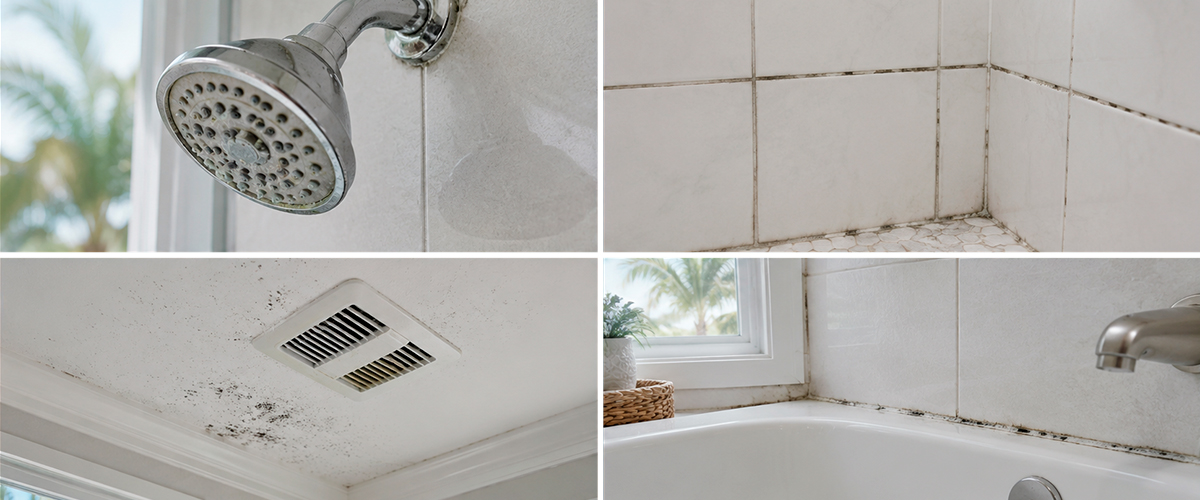
To stop mildew, remove the moisture and organic residue it needs before it has a chance to establish. Squeegee shower surfaces after every use, rinse away soap scum and body oil residue consistently, run the exhaust fan during and after showering, and keep indoor humidity below 50%. Mildew colonizes surfaces faster than most mold species, so daily consistency is what actually stops it.
How To Prevent Mildew In Shower
To prevent mildew in the shower, remove surface moisture immediately after every use, rinse away soap scum and body oil residue before stepping out, and maintain ventilation that keeps post-shower humidity below 50%. Mildew establishes faster than mold on surfaces that stay damp and accumulate organic residue, so daily consistency is especially important.
Preventing mildew comes down to the same basic habits as preventing mold: wipe away standing water, run the exhaust fan, rinse off residue, and keep up with regular cleaning.
The main difference is speed. Mildew stays on the surface, so it can show up quickly when the bathroom stays damp.
That’s why daily habits do more than the occasional deep clean. They remove the moisture and buildup mildew needs before it has a chance to come back.
Tips for stopping mildew effectively:
- Daily shower spray: A light mist of a commercial daily shower spray applied after drying the walls creates a thin residue-resistant barrier on tile and glass that slows the buildup mildew feeds on. Look for products carrying the EPA Safer Choice label.
- Borax solution for grout: A borax solution, one cup of borax dissolved in one gallon of warm water, applied to grout lines during weekly cleaning is effective against mildew and does not degrade cement grout binders the way repeated vinegar use does. It also leaves an alkaline residue on the grout surface that makes the environment less hospitable to mildew between cleanings.
- Upgrade to antibacterial and antimicrobial shower curtains: If you use a curtain, choose a mildew-resistant PEVA/EVA liner. A Microban-protected shower liner inhibits the growth of odor-causing bacteria and mildew.
How To Prevent Mildew On Bathroom Ceiling
To prevent mildew on a bathroom ceiling, run the exhaust fan consistently, wipe visible condensation from the ceiling after steamy showers, and paint the ceiling with a semi-gloss or satin mold-resistant formula that repels moisture more effectively than flat paint.
To prevent mildew on the ceiling, don’t let condensation sit there. The fan should do most of the work. The paint helps protect the surface. Wiping the ceiling is the backup plan for those days when the bathroom still gets too steamy.
One extra thing to watch for with bathroom ceilings: a faint musty smell, even when you don’t see any mildew yet.
Check the ceiling corners and the area around the exhaust vent. Mildew can start giving off an odor before it becomes easy to see. Catching it early is much easier than waiting until it spreads across the ceiling.
How to prevent mildew in a bathtub?
To prevent mildew in a bathtub, dry the tub walls and floor after every use; rinse away soap scum and body oil residue before leaving the bath; run the exhaust fan during and after bathing; and keep the shower curtain or door fully open afterward to maximize airflow across the tub surface.
Bathtubs can build up residue faster than showers because bathwater sits in the tub instead of rinsing away right away. When the water drains, it often leaves behind soap film, body oils, and other buildup. That leftover layer gives mildew something to feed on.
For tubs, the biggest prevention habit is simple. After every bath:
- Rinse and wipe residue (soap scum, body oils, bath oils, bubble bath, or bath bombs, and other buildup)
- Dry the bathtub walls and floor
Additional bathtub-specific prevention habits:
- Keep the plastic liner tucked inside the tub so water drips directly into the drain rather than pooling at the tub edge
- Dry the caulk bead where the tub meets the wall after bathing. This seam stays wet longest and is where mildew establishes first in most bathtubs
- Check faucets and the showerhead for drips. Even a slow drip keeps the tub basin and drain area continuously damp between uses, giving mildew exactly the moisture it needs to establish between cleanings. Fix dripping fixtures promptly
- Check the tub caulk condition every six to twelve months. Soft, discolored, or separating caulk allows moisture behind the seal where no surface prevention habit can reach it
When Mold & Mildew Prevention Are Not Enough
Prevention habits and maintenance help stop mold & mildew from getting started. They reduce the moisture, residue, and surface problems that mold needs to grow.
But they won’t fix mildew or mold that has already worked its way into grout or settled behind failing caulk. Once that happens, the problem usually needs more than daily cleaning and better ventilation.
If mold keeps coming back in the same grout lines, even after regular cleaning, better ventilation, and a solid prevention routine, the grout may already be compromised.
At that point, the mold usually isn’t just sitting on the surface anymore. It may be embedded deeper in the grout, where daily sprays and household cleaners can’t fully reach.
That’s when professional tile and grout cleaning can make a real difference.
Mint Condition’s IICRC-certified tile and grout cleaning technicians use professional-grade extraction methods that go beyond surface treatment to address mold at the grout level. Think of it as a reset for your grout, removing the embedded contamination that prevention habits cannot reach, so that your daily routine actually works the way it is supposed to.
If your shower grout keeps returning to the same dark discoloration despite your best prevention efforts, our professional tile and grout cleaning service is exactly the conversation we are here to have.
Mold And Mildew Prevention FAQs
These are the questions homeowners ask most often when trying to build a prevention routine that actually works.
How do I stop mold from growing in my shower?
To stop mold from growing in your shower, consistently remove the three conditions it needs: surface moisture, organic residue, and stagnant humid air. Squeegee walls after every use, rinse soap and shampoo residue off surfaces before stepping out, and run the exhaust fan for at least 20 minutes after showering, or until mirrors and walls feel dry. Seal cement grout per the manufacturer’s recommendations and replace failing caulk before moisture works its way behind the seal.
If mold keeps returning in the same spot despite these habits, the problem has likely moved below the surface into the grout matrix where daily habits cannot reach it.
Will spraying vinegar in the shower prevent mold?
Vinegar has antimicrobial properties against many fungal species and can help reduce surface mold and residue on non-porous tile and glass. It is not an EPA-registered mold preventative and should not be relied on as a primary prevention strategy. On cement grout, frequent use is not recommended. Its acidity can gradually weaken the grout binder over time, with the severity depending on grout type, sealing status, concentration, and how long it sits on the surface. An occasional vinegar spray on tile and glass surfaces, rinsed thoroughly afterward, is a reasonable supplemental habit. It is not a substitute for squeegeeing, ventilation, and residue removal.
What helps prevent mildew?
To prevent mildew, remove moisture and organic residue consistently. Squeegee shower surfaces after every use, run the exhaust fan during and after showering, rinse soap scum and body oils off surfaces regularly, and keep indoor humidity below 50% per CDC guidance. Spreading the shower curtain fully open after every shower and washing it monthly removes a common mildew surface before growth establishes. Borax solution applied to grout lines during weekly cleaning creates an alkaline environment that makes grout less hospitable to mildew between cleanings.
Conclusion
Keeping mold and mildew out of the shower really comes down to a few habits you have to repeat. Wipe away standing water, rinse off soap residue, and give the bathroom enough airflow to dry out after each shower.
Consistent prevention habits go a long way. But when grout mold keeps coming back despite your best efforts, that is the sign the problem has moved past what daily routines can fix.
Mint Condition’s IICRC-certified tile and grout cleaning technicians specialize in professional tile and grout cleaning that removes embedded mold at the grout level, using eco-friendly, family and pet safe methods. Serving homeowners across Orlando and Central Florida, we help you reset your grout so your prevention routine actually works the way it is supposed to.
Call us at (407) 456-2035 or fill out a contact form today for your free estimate.
References
Home Ventilating Institute, Bathroom Ventilation Guidelines: https://www.hvi.org/resources/publications/bathroom-ventilation/
U.S. Environmental Protection Agency, A Brief Guide to Mold, Moisture, and Your Home: https://www.epa.gov/mold/brief-guide-mold-moisture-and-your-home
Centers for Disease Control and Prevention, Basic Facts About Mold and Dampness: https://www.cdc.gov/mold/faqs.htm
International Residential Code, Section M1505: https://codes.iccsafe.org/content/IRC2021P2/chapter-15-exhaust-systems
EPA Safer Choice Program: https://www.epa.gov/saferchoice
IICRC S520 Standard for Professional Mold Remediation: https://www.iicrc.org/page/IICRCStandards